Tired of boring borders around your photos? Have some fun creating decorative edges for your digital images.
1. Go to the File Menu and Open the image you want to apply a decorative edge to.
2. Hit the D key to restore the Foreground Color to black and the Background Color to white (the defaults).
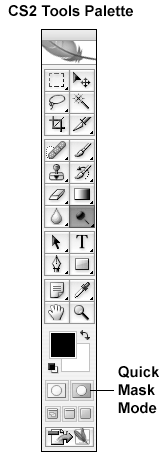
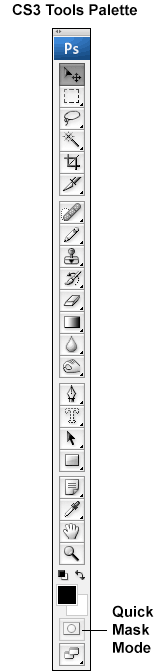
3. Double-click the Quick Mask Mode icon in the tools palette:
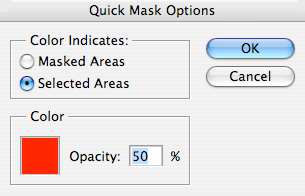
This will bring up the Quick Mask Options dialog box. Make sure the Selected Areas box is checked (not Masked Areas) and click OK:
Click the Q key to deselect Quick Mask Mode
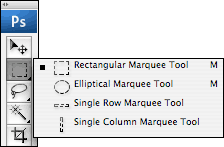
4. Use the Marquee Tool in the tools palette to select an inside portion of the image.
The Marquee tool is located at the top of the tools palette. Just click once on the Marquee tool icon or hit the M key to select it. When you click and hold on the Marquee tool, notice that more tools emerge, including the Elliptical Marquee Tool which can be used to create circular or oval selections:
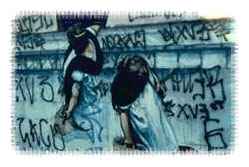
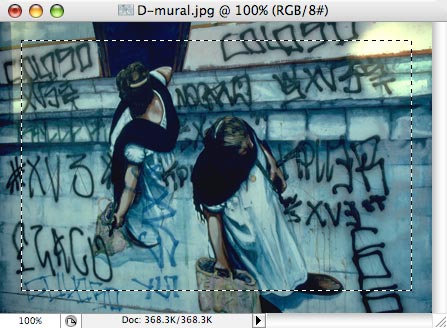
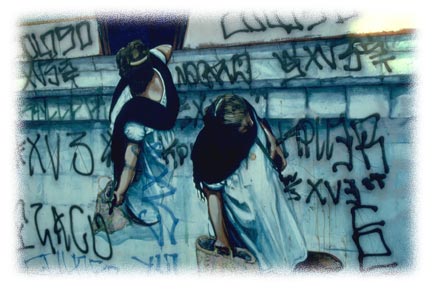
With the Marquee Tool selected, drag across your image while holding down the mouse button to select an inside portion of the image, and then release the mouse button. Your selection will be surrounded by flickering dashed lines (also referred to as marching ants). If you’re not happy with your selection, just click once with the mouse anywhere inside the image, the dashed lines will disappear, and try again. You should aim for something that looks like this:
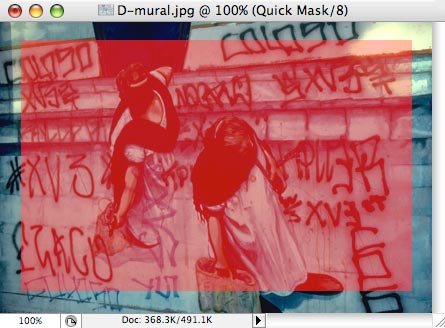
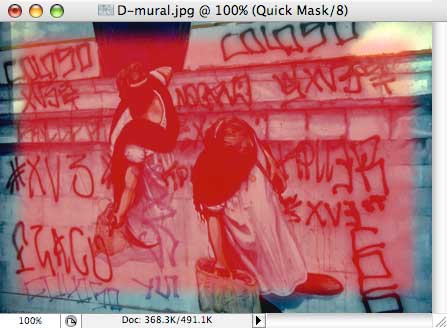
5. Click on the Quick Mask Mode icon in the tools palette (or just hit the Q key). The selected area (your masked area) will turn red:
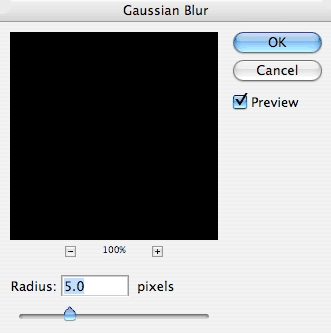
6. Now you will apply the Gaussian Blur filter to the mask. In the Filter Menu, scroll down to Blur and in the drop down menu that appears, select Gaussian Blur:
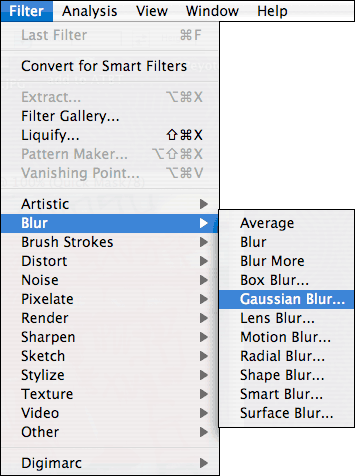
In the dialog box, set a Radius value of 5 pixels. Click OK:
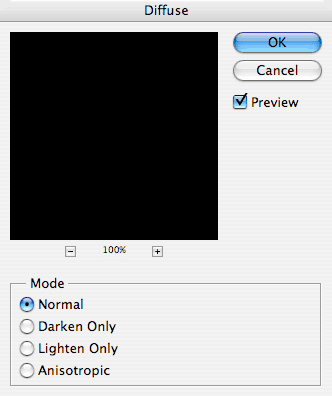
7. Next you will apply the Diffuse filter to the mask. In the Filter Menu, scroll down to Stylize and in the drop down menu that appears, select Diffuse:
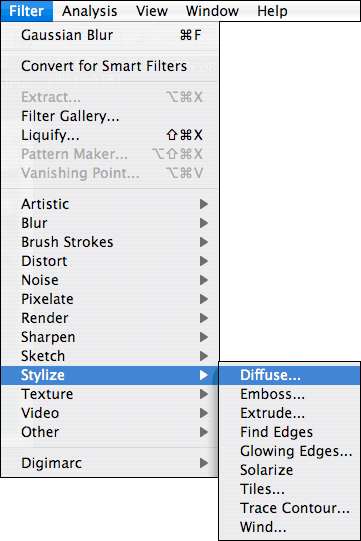
In the dialog box that appears, make sure the Mode is set to Normal. Click OK.
Notice that the edges of your mask are now a bit ragged:
8. Click on the Q key again to get out of Quick Mask Mode. The red mask becomes a selection boundary of flickering dashed lines.
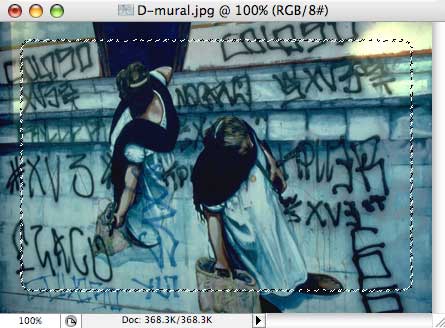
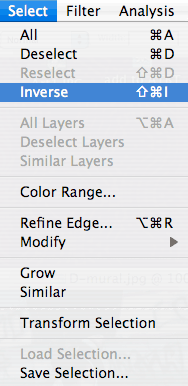
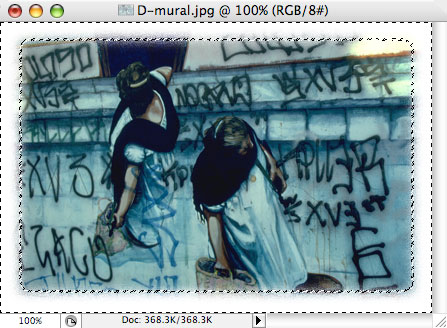
9. You now want to Inverse the selection so that the selected area becomes the outer edge of the graphic that you will fill with a background color. From the Select Menu, choose Inverse.
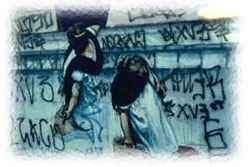
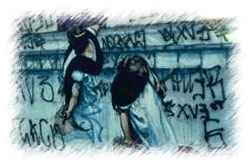
You should get something that looks like this:

10. Delete this outer edge and fill it with a Background Color of your choice. First pick a background color that the image will blend into. For example, I wanted the image to blend into the background of this page so I chose the same color as the page’s background color (white).
Fill the selected area with your Background Color: from the Edit Menu, select Cut. You can also use the keyboard shortcut, Command X (Mac) Control X for (Windows), or just hit the Delete key.
11. Deselect to get rid of the selection boundary: go to the Select Menu and choose Deselect or use the keyboard shortcut: Command D (Mac) Control D for (Windows).
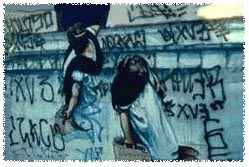
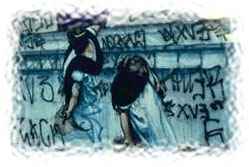
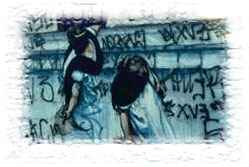
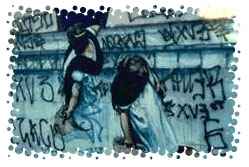
You should end up with a photographic edge that looks something like this:
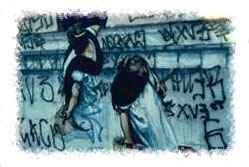
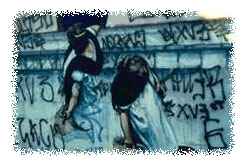
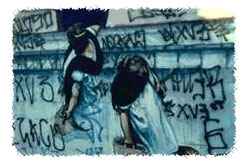
You can get different photographic edges by replacing Step 7 with any of the following filter effects (you can also tinker with these settings and other filter effects to create your own decorative edges):
FILTER MENU > PIXELATE > CRYSTALLIZE
In the dialog box that appears, set the following:
CELL SIZE=5
FILTER MENU > BRUSH STROKES > SPRAYED STROKES
In the dialog box that appears, set the following:
STROKE LENGTH: 5
SPRAY RADIUS: 5
STROKE DIRECTION: RIGHT DIAGONAL
FILTER MENU > DISTORT > RIPPLE
In the dialog box that appears, set the following:
AMOUNT: 100%
SIZE: LARGE

FILTER MENU > DISTORT > GLASS
In the dialog box that appears, set the following:
DISTORTION: 3
SMOOTHNESS: 3
TEXTURE: FROSTED
SCALING: 100%
Do not check the INVERT box.
FILTER MENU > TEXTURE > CRAQUELURE
In the dialog box that appears, set the following:
CRACK SPACING: 12
CRACK DEPTH: 6
CRACK BRIGHTNESS: 9
FILTER MENU > TEXTURE > GRAIN
In the dialog box that appears, set the following:
INTENSITY: 61
CONTRAST: 45
GRAIN TYPE: ENLARGED
FILTER MENU > BRUSH STROKES > SPATTER
In the dialog box that appears, set the following:
SPRAY RADIUS: 4
SMOOTHNESS: 5

FILTER MENU > TEXTURE > GRAIN
In the dialog box that appears, set the following:
INTENSITY: 50
CONTRAST: 45
GRAIN TYPE: STIPPLED
FILTER MENU > TEXTURE > GRAIN
In the dialog box that appears, set the following:
INTENSITY: 50
CONTRAST: 45
GRAIN TYPE: STIPPLED
and then:
FILTER MENU > BRUSH STROKES > CROSS HATCH
In the dialog box that appears, set the following:
STROKE LENGTH: 9
SHARPNESS: 2
STRENGTH: 2
FILTER MENU > PIXELATE > COLOR HALFTONE
In the dialog box that appears, set the following:
MAX. RADIUS: 6
CHANNEL 1: 108
CHANNEL 2: 162
CHANNEL 3: 90
CHANNEL 4: 45
FILTER MENU > BLUR > GAUSSIAN BLUR
In the dialog box that appears, set the following:
RADIUS=5
and then:
FILTER MENU > SKETCH > WATER PAPER
In the dialog box that appears, set the following:
FIBER LENGTH: 10
BRIGHTNESS: 60
CONTRAST: 80