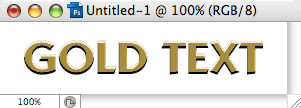
Create a New file: Under the File menu, select New. In the New file dialog box that appears, enter the following values:
Width: 4 inches
Height: 1 inch
Resolution: 72 for Web text; 300 for print
Mode: RGB Color
Contents: White
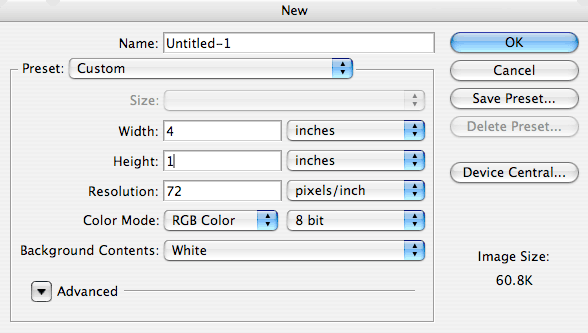
You should get something that looks like this:
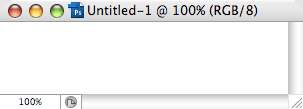
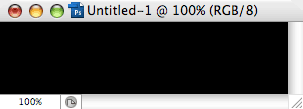
Hit the D key to restore the Foreground color to black and the Background color to white (the defaults). Since gold metallic text looks better on a black background, click Option Delete (Alt Delete for Windows) to change the background color to black.
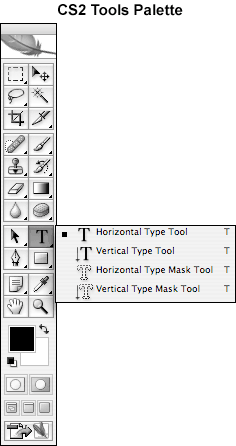
Create some text using the Horizontal Type Mask tool. To get to this tool, click and hold on the Type Tool in the tools palette (the icon with the capital "T"), slide across and down to the outlined "T" (the Horizontal Type Mask tool), and release the mouse:

Move your cursor into the middle of your new image window and click once. A red mask will appear over the background. Enter some text:
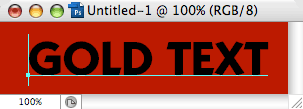
You can change the text's attributes (font, size, etc.) in the Type Options Bar at the top of your screen:

Once your text is as you want it, click the Commit button on the top of your screen on the right side of the Options Bar:

Your text will turn into a type selection look something like this:
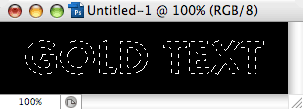
Now fill the text outline with the color white (the Background color) by hitting the Delete key:
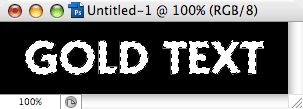
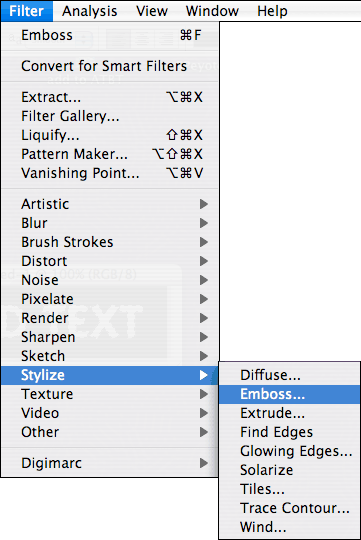
Now Emboss your text selection: Filter menu > Stylize > Emboss:
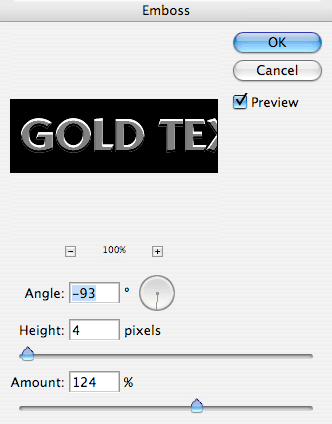
In the dialog box that appears, enter the following values and click OK:
Angle: -93
Height: 4
Amount: 124
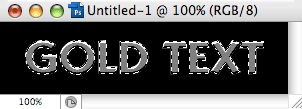
You should now have something that looks like this:
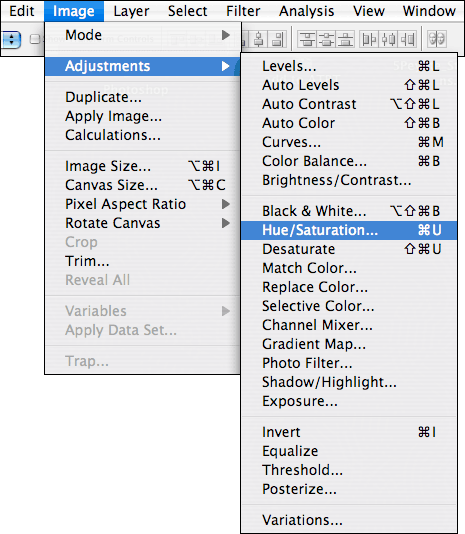
Now give the text a gold tint by adjusting the hue, saturation and lightness:
Image > Adjustments > Hue Saturation
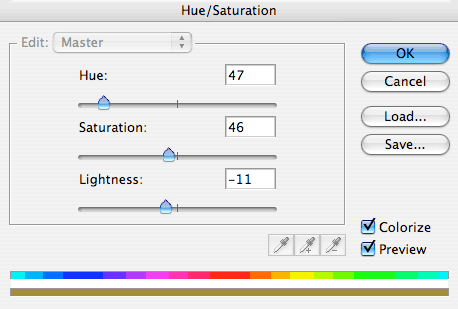
In the dialog box that appears, make sure the Colorize and Preview box are checked, enter the following values, and then click OK. Note: You must check the Colorize first:
Hue: 47
Saturation: 46
Lightness: -11
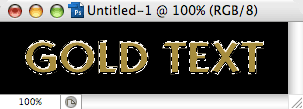
You may want to fiddle with these values (especially the Lightness value) to get the desired effect if you are using a thicker font. With the settings above, you should get something like this:
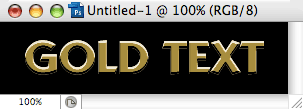
If you want to keep the black background color, Deselect the text (Command D for Mac/Control D for Windows). You should get something that looks like this:
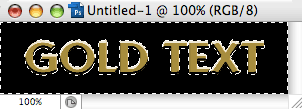
If you want a different colored background, inverse the selection: From the Select menu, choose Inverse.
Select a background color by clicking on the Background Color icon in the toolbox.
Once you have selected a background color, hit the Delete key and Deselect the text (Command D for Mac/Control D for Windows).
