(This tip was written for Photoshop 5 but except
for the way Brushes operate in later versions of Photoshop,
it works with Photoshop versions 6 through CS3.)
Because most old photos are usually relatively washed out and marred in some fashion, you may end up with mottled complexions, unsightly banding and moiré patterns. Photoshop 5 has a new tool that seems especially designed for dealing with this: the History Brush.
Click on the History Brush tool in the toolbox to select it:
Make sure the History palette is showing. If not, go the Window menu and select Show History (Note: the History Palette and the History Brush Options palette ARE TWO SEPARATE PALETTES):
A snapshot is a temporary copy of your original image. Photoshop automatically creates a snapshot of your image by default in the History palette.
First, we want to blur the snapshot to get rid of the banding and mottled complexion. From the Filter menu, scroll down to Noise, and in the pop-up menu, select Median. Make sure the Preview box is checked and increase the Radius until all of the banding and mottling in your image disappears and you are left with what seems like a blurry mess. Remember, this is a snapshot (i.e. a copy) of your image, not the original image.
Next, add some Noise for texture. From the Filter menu, scroll down to Noise, and in the pop-up menu, select Add Noise. Make sure the Distribution is set to Uniform and the Monochromatic box is unchecked (unless you are working on a color image). Add an Amount value of about 3 or 4.
Next, create a new snapshot of the image that has the Median and Noise filter changes we made to the image. Click on the little triangle at the top right corner of the History palette. A pop-up menu will appear. Select New Snapshot:

In the dialog box that appears, name your new snapshot Paint and select Merged Layers from the drop-down menu:
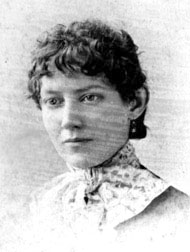
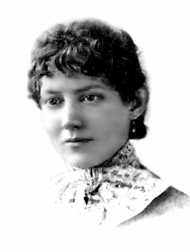
Now you should have two image thumbnails in the History palette. The first is a snapshot of your original image without any changes made to it (i.e. for this tip, the thumbnail called BASE_BW.psd) and the second is your blurry snapshot called Paint.
Select the History Brush in the toolbox, and in the History palette, set the source to Paint by clicking on the empty box to the immediate left of the Paint thumbnail so that the History Brush icon is before the Paint thumbnail and no longer beside the first (BASE_BW.psd) thumbnail like in the animation below:
Target your original image by clicking directly on its thumbnail in the History palette so that it is highlighted:
FOR PHOTOSHOP 5 ONLY (skip down for later versions of Photoshop):
With the History Brush selected in the toolbox, you can now paint over the banding and defects in your original image. First, double-click on the History Brush tool in the toolbox to bring up the History Brush Options palette:
Before you begin painting, select either Darken or Lighten mode in the History Brush Options palette:
In Darken mode, the History Brush only paints over portions of the image that are lighter than the Paint snapshot. In Lighten mode, the History Brush only paints over portions of the image that are darker than the Paint snapshot.
FOR LATER VERSIONS OF PHOTOSHOP:
In later versions of Photoshop, when the History Brush is selected in the toolbar, you can access the History Brush Options Bar at the top of your screen:
Again, in Darken mode, the History Brush only paints over portions of the image that are lighter than the Paint snapshot. In Lighten mode, the History Brush only paints over portions of the image that are darker than the Paint snapshot.
By painting and switching between these two modes, you can get rid of most of the defects in your image. If you find that the effects of painting with the History Brush are too severe, just lower the Opacity value in the History Brush Options palette.
NEXT: Sharpening Blurry Scans