I have a number of tutorials up that deal with restoring old photographs:
• Adjusting Image Tone & Contrast: Using the Levels command to adjust the image's overall lightness and darkness.
• Stamping out Defects: Using the Rubber Stamp tool to stamp out image defects.
• Using the History Brush: Mastering the History Brush along with the History Palette to get rid of banding, mottling and other image defects.
• Sharpening Blurry Scans: Getting results with the Unsharp Mask filter.
• Dodging and Burning: Fine tuning and restoring image detail.
When working with old black & white photos, always scan them in at the highest resolution that your scanner supports at thousands or millions of colors (i.e. as many colors as your scanner will provide) in RGB Color mode. Then, in Photoshop, convert to Grayscale (under the Image menu, select Mode > Grayscale) and resample the scan down to the image resolution you want (under Image menu, select Image Size).
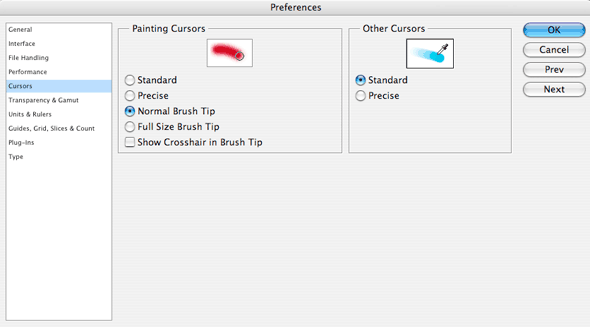
For this tutorial, make the following changes to your Preferences: Under the Photoshop menu, scroll down to Preferences, and in the pop-up menu, select Cursors. Under Painting Cursors, make sure Normal Brush Size is selected and Standard is selected for Other Cursors:
